¶ Building a Chimera
(If I can build it you can too)
Over the course of two months I built a Chimera using basic tools and no advanced metalworking knowledge whatsoever. It worked, mostly, so I documented it.
¶ Materiel
Step 1 was to buy everything I needed. This ended up taking a lot more time than you'd think; for whatever reason the standard hardware stores were lacking and I had to hit several to get rust free steel tubing in the sizes I needed.
-photo of tubing-
In retrospect the printed parts were loose enough and the thickness unimportant enough I probably could have made do with 12 gauge. That would have made cutting and more importantly bending a lot harder, but everyone had 12 gauge in stock.
¶ Foregrip
Starting with the front I printed out the jigs and got to work dremeling and drilling:


Not too hard, course I already know how to drill. I actually used a 5.5mm bit instead of 7/32; ultimately those holes are just for anchoring the furniture so there's plenty of room for substitutuion.
The 3d printed anchors I made out of leftover Christmas PETG.
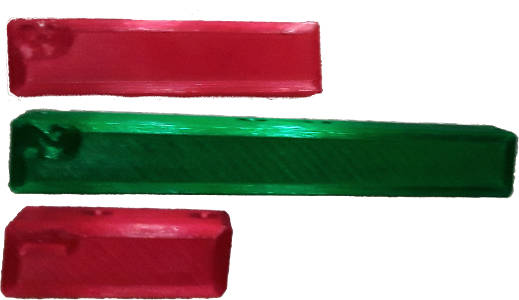

The middle blocks I printed out of TPU which I then dyed (I have a lot of tpu and this was an excuse to trim some less popular colors).
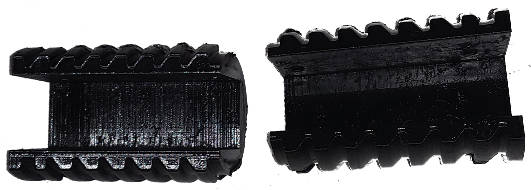
The grips I ended up re-printing and dyeing brown (you'll see them soon enough). The other middle sections are held together with some 3mm rods and some 3mm screws I used a bolt cutter on. They're only aesthetic after all.


By the way, when assembling, don't do the middle parts last. You won't be able to get them on with the 3mm rods in. And I really should have realized that a lot earlier on in the build.
The front and rear blocks I printed out of some leftover rolls of carbon fiber nylon. I have a lot but there were some brands I had stopped using on account of them always printing too thick. For future builds I'd probably just use CF PETG (I am not a fan of pla; it melts in a hot car. Meanwhile raw PETG might flex and give too much to hold the barrel long term.).
Finally I put it all together with jbweld, an assortment of M5x16mm screws, and some alternating M5x20mm screws that I had to rely on because my hardware store doesn't stock a lot in commie measurements and I didn't feel like driving somewhere else. I could get away with that here; there wasn't enough padding in the receiver bit to try that trick elsewhere.

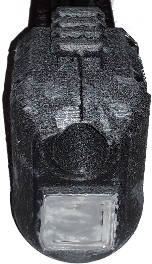

That looks pretty nifty, but check out this gap.
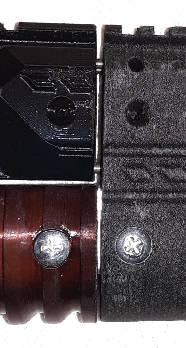
I don't know if that was caused by bad measuring, drilling, printer calibration, or possibly the tpu shrinking a little when I boiled it for the dye. Not a problem, just unsightly. Will have to take careful measurements next time.
¶ Hinge
You're supposed to assemble the receiver next but I wanted to weld that (even though welding is optional) so I went with the hinge next. This didn't cause any problems that I couldn't work around.
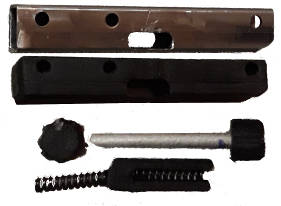
(not pictured: some 1/4" rod and all the grease I squirted in)
Printing the parts was easy enough (given the latch gets a lot of force and was small I went ahead and used my cf nylon for it too) and cutting the tubing wasn't too hard. During assembly I found I needed to widen the slots a bit more due to the plastic pieces not quite lining up, but that was nothing some extra dremeling couldn't solve.
I didn't use the recommended .8mm x 6mm x 50mm spring here, opting instead for two .035" x .25" x 1" springs instead (a little thicker and thus heavier). Using two instead of one made assembly slightly more annoying but once it was all in place it worked perfectly.
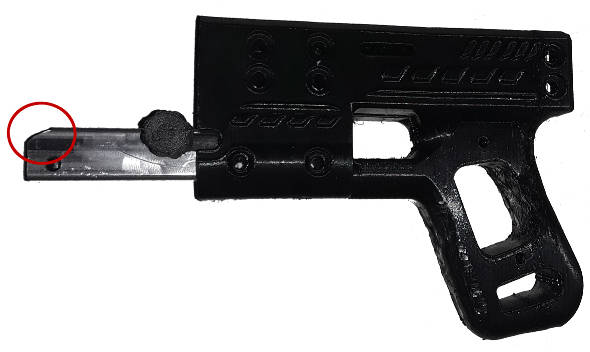
Well, not everything. Here you can see the cutout for the hinge circled. It wasn't clear exactly how much material I was supposed to remove based on the jig so I was a bit conservative. A bit too conservative it turns out; we'll get to that soon.

Combining the hinge, the unfinished grip, and the front was no great feat.
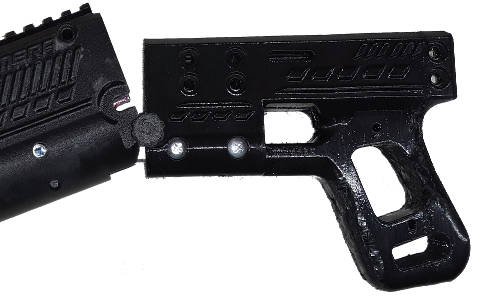
Flipping it open and closed is really fun too. Except...
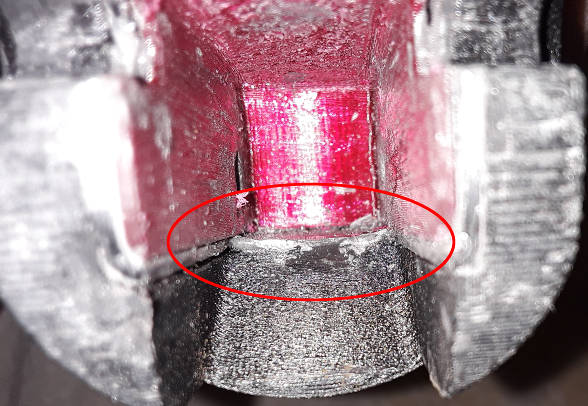
The hinge didn't open up all the way. Not enough to get a 410 shell in without the receiver interfering. I think this was a combination of my slightly conservative cuts on the hinge metal, mentioned earlier, and this lip in the foregrip tubing that sticks out slightly. I filed it down by hand (that was tedious) and the extra millimeter gave me the clearance I needed. Next time I'll be looking at that more closely before putting it all together.
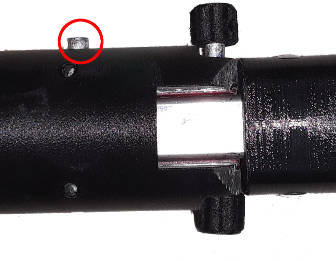
One of these days I'll also shorten the 1/4" pivot rod down a little. Eventually. Maybe.
¶ Receiver
Time to build the receiver. Before the unexciting dremel + drill session I hit up a friend with a mig welder to borrow it for a little bit. After bending the tube edge over (which for 16 gauge is as simple as putting it on hard ground and bending up) we set up a quick and dirty welding station:
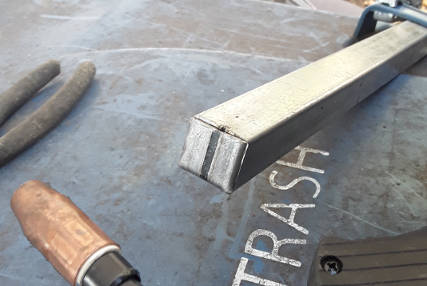
sizzle sizzle sizzle
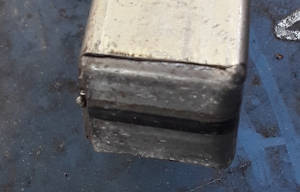
Hmm, welding is harder than it looks. And hard to look at too. But eventually I managed to get something that probably won't win any welding competitions but I think is better than unwelded metal. On to the drill.

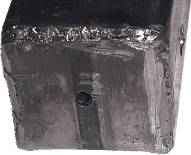
Assembling the fire control group ended up being the hardest part of this endeavor and the part that gave me the most cause for concern.
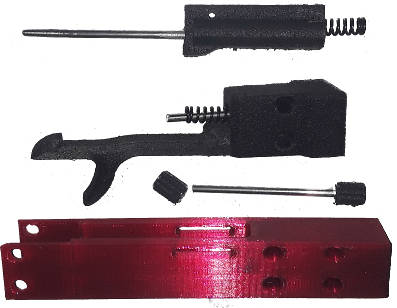

Again I'm using two springs instead of one, and I was concerned that this time it might be a problem, especially since the firig pin was sticking out a lot. Fortunately that was not a problem at all.
The firing pin, and the hole it slots in to, was. My plan was to JB weld everything in place at once. That would have worked except the firing pin got stuck and came out of the striker.
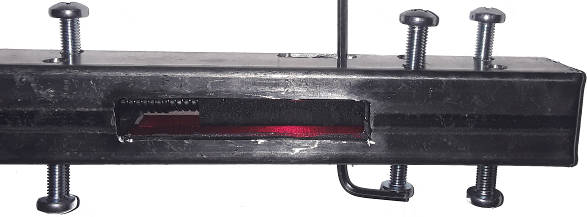
I had to leave the JB weld covered inner block screwed in place, JB weld the firing pin in to the striker, and then assemble everything after it all hardened. After the obligatory grease, pounding things into square tubing, scraping off jbweld that had dripped on things I didn't wannt it on, and drilling the firing pin hole some more, it was finally time to combine it all with the 3d printed TPU (yes, I used tpu) outer receiver.
I broke the knob getting it on (I replaced it later with a tpu one that's more comfortable and epoxy'd in--jbweld is great). Getting the trigger in required even more grease and sanding but finally it was all in place.
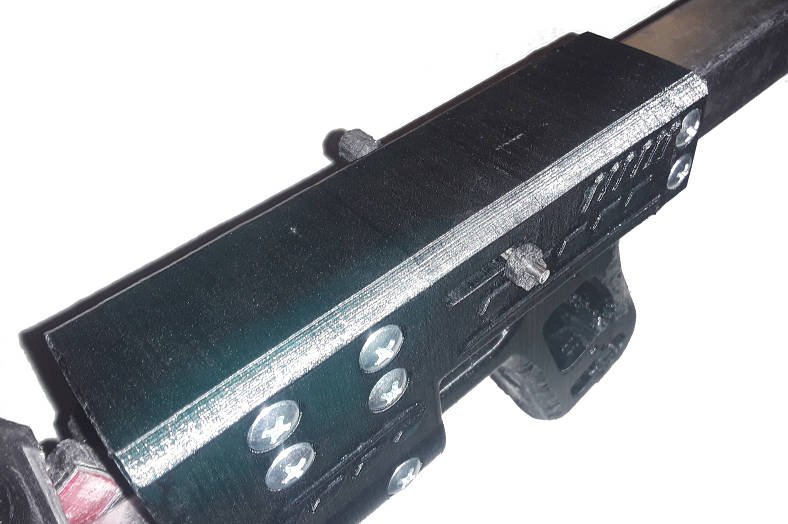
After that came attaching the stock, which was uneventful and kind of boring after that last mess.
¶ Barrel
The barrel. Armed with a battery powered hand drill and the recommended 15/32" drill bit I set to work, barrel in one hand and drill (and drill guide) in the other.
Drilling the barrel this way was a slow process. Heat built up quickly causing the drill bit to catch. Breaks were frequent. When all was said and done the barrel chamber was of pretty poor quality...
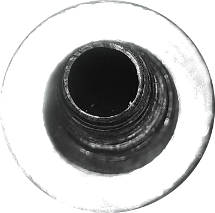
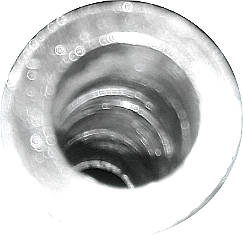
Even with the guide the hole ended up being off center and the chamber is gouged heavily. That won't buff out.
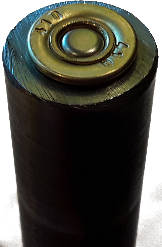
A shell did drop in (eventually--the drill bit isn't quite large enough so it took several widening passes) so we're good to go.
¶ Finish
At long last it's done, or at least workable.


My first shot was WITHOUT the grub screws holding the barrel in place, and it did indeed move. I did hit my target and still have all my fingers though. Overall it felt like firing a pistol carbine and aside from the design making aiming down the barrel impossible when braced it felt like a perfectly reasonable break-open 410.
--pic of fired shell--
.410s are expensive if you don't reload them and with a bulged out and torn up case this shell is ow useless. Sure it worked, but the barrel is still a mess. First order of refinement is to redo the barrel with an actual drill press or better.
¶ Refinement
--todo--